Diving for Secrets: A Complete Guide to All Secret Lobby Fissures in Abyssus


Popular Now
 Poppy Playtime
 Among Us
 Gacha Club
 Schedule I
 Free Fire
 CarX Street
 Genshin Impact
 The Legend of Zelda
Fall Guys
The Legend of Zelda
Fall Guys 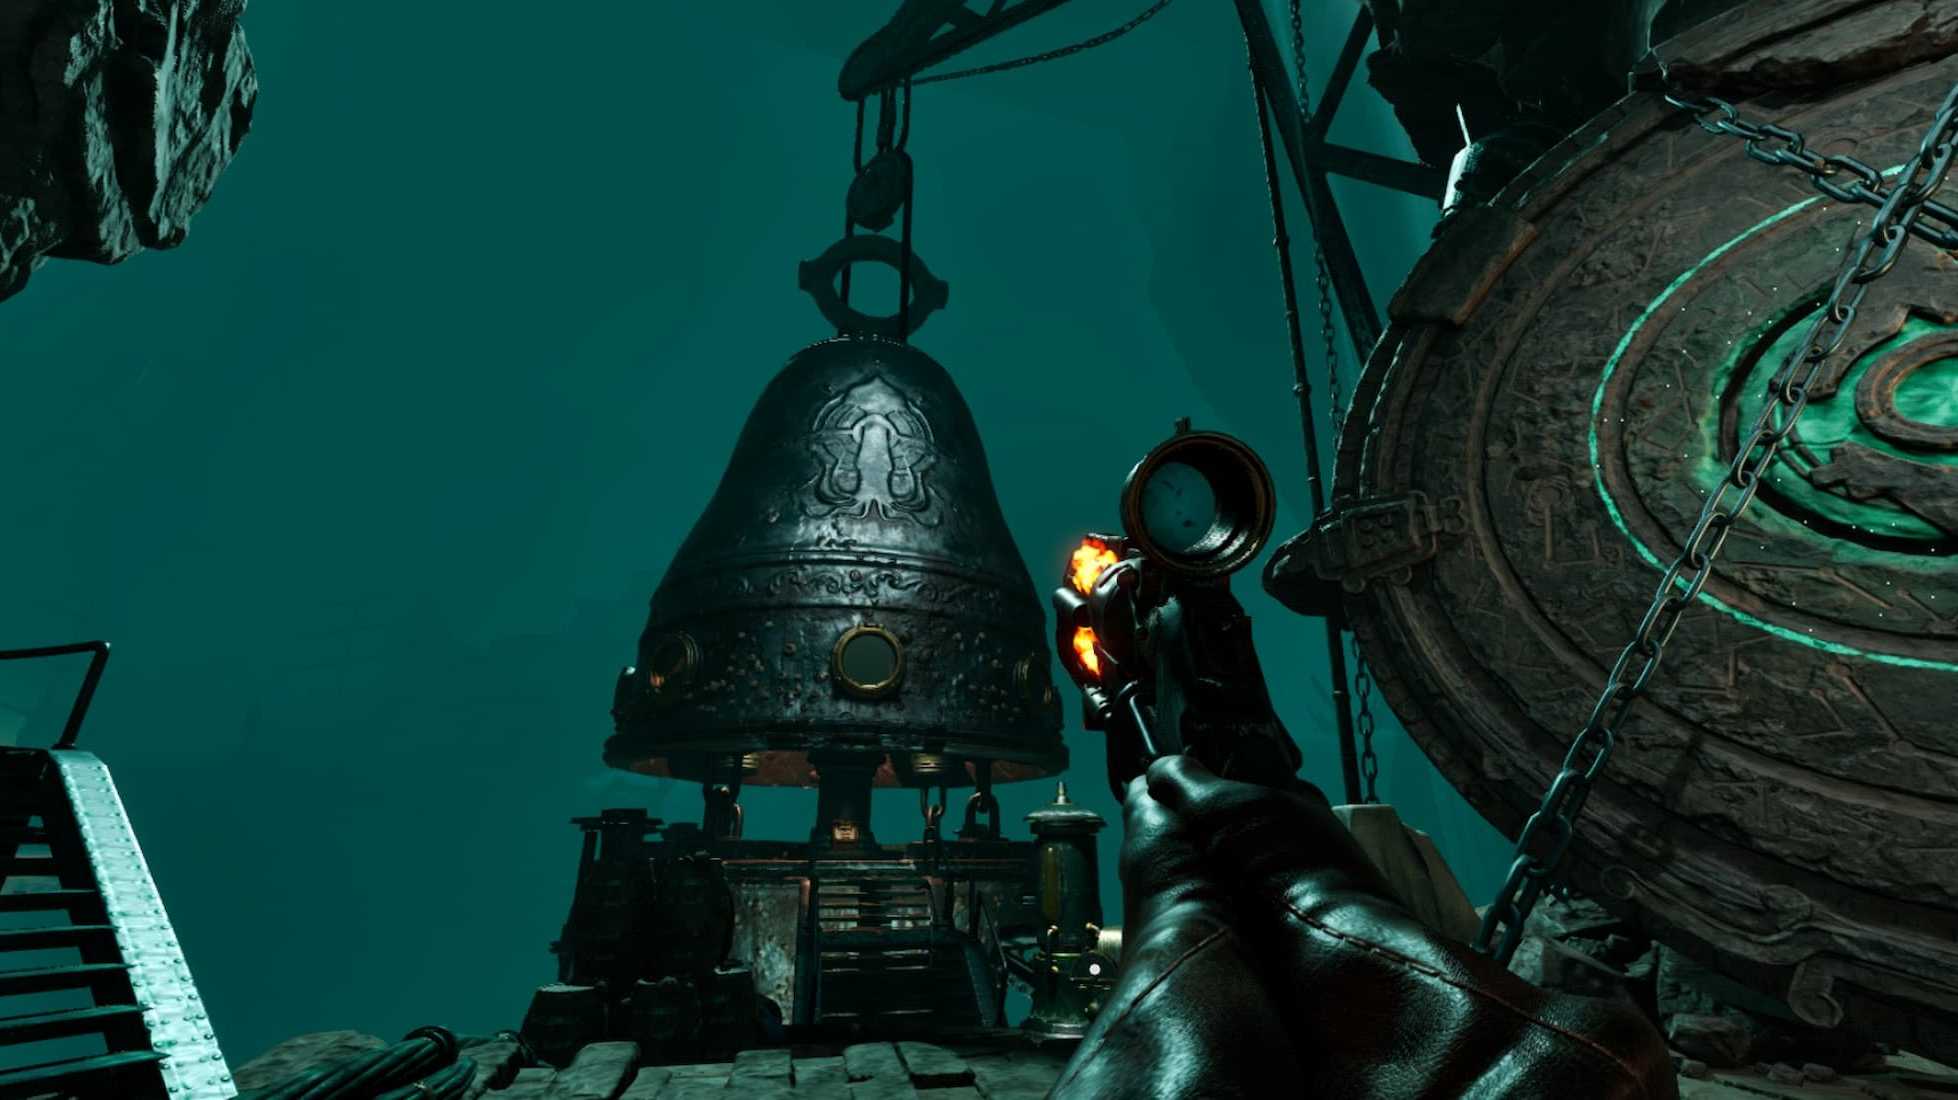
In the roguelite FPS Abyssus, the main lobby is more than just a place to prepare for your next dive. It’s a hub filled with secrets and challenges, and one of the most intriguing and difficult-to-find puzzles involves a set of hidden “Surge Fissures.” Finding and activating all of them unlocks a special reward and a new challenge for players. For many, these fissures are the final piece of the puzzle, and their obscure locations can be frustrating to track down. This guide will provide a comprehensive, step-by-step walkthrough of the location of every single secret lobby fissure, helping you unlock all the hub’s secrets and master the game. This is an essential read for anyone invested in Abyssus gameplay and looking to uncover all of its mysteries.
The total number of secret fissures in the main lobby is eight. While the first few are easy to spot, the later ones are hidden in plain sight, tucked away in obscure corners of the hub. Discovering them all is not just a cosmetic achievement; it is a mark of a true Brinehunter who has a keen eye for the game’s intricate design. This guide will help you find them all so you can get back to the deep and continue your adventures.
The Locations of All 8 Secret Lobby Fissures
Fissure 1: The Central Platform
This is the first fissure you’ll likely find. It’s located on the central platform where you spawn. Simply walk to the base of the large cube that rises from the platform. The fissure is a glowing, vertical line on the side of the cube. Interact with it to activate it.
 Fissure 2: The Main Console
 Fissure 2: The Main Console
This fissure is located directly opposite the first one, on the main console where you can customize your loadout and view your stats. Look to the left of the main screen on the wall. The fissure is a glowing line that blends in with the metallic surface.
Fissure 3: The Dock Overlook
From the main console, head to the dock area where the pods are located. Look at the wall that overlooks the dock. There is a small, glowing line near a pipe on the wall. This fissure is easy to miss if you’re not paying close attention to your surroundings.
Fissure 4: The Lower Level Waterfall Room
This one is the first of the more difficult-to-find fissures. You must find a secret room behind the large waterfall in the main lobby. The waterfall is located near the dock area. Jump through the waterfall, and you’ll find a hidden cave. The fissure is on the back wall of this hidden room. This area also contains a secret fountain, which is key to unlocking the Deity Fish weapon later on.
Fissure 5: The Library/Upper Level
Head up the stairs to the second floor, which has a library-like room. The next fissure is in this area, but it’s well-hidden. Look for a large, glowing door on the top of the library room. This secret door is difficult to spot and is part of a larger puzzle to access the final fissure. Once you find and open the door, the fissure is inside.
Fissure 6: The Water Pit
Another one of the more challenging fissures is located in the water pit. This is the large pool of water where you can see glowing reflections. To find the fissure, you must look closely at the glowing reflections on the water’s surface. The fissure is actually a reflection of a glowing line on the wall. It can be easily mistaken for a simple light reflection. Once you spot it, get close to the corresponding wall to activate it.
Fissure 7: The Final Chamber
This fissure is found within the secret room you unlocked by opening the glowing door in the library. This chamber is part of the final puzzle and is where you can find the final fissure. Once you’re inside, simply look for the glowing line on the back wall. This one is a little less hidden once you’ve found the secret room.
Fissure 8: The Obscured Corner
 Fissure 8: The Obscured Corner
The last fissure is also one of the most frustrating to find. It is located in an obscured corner of the lobby. To find it, you need to go behind the central platform and look for a small, dark crevice on the wall. The fissure is tucked away in this hard-to-see area. It’s easy to walk past it a dozen times without even noticing it’s there. The best way to find it is to meticulously check every wall and corner of the lobby until you spot the glowing line.
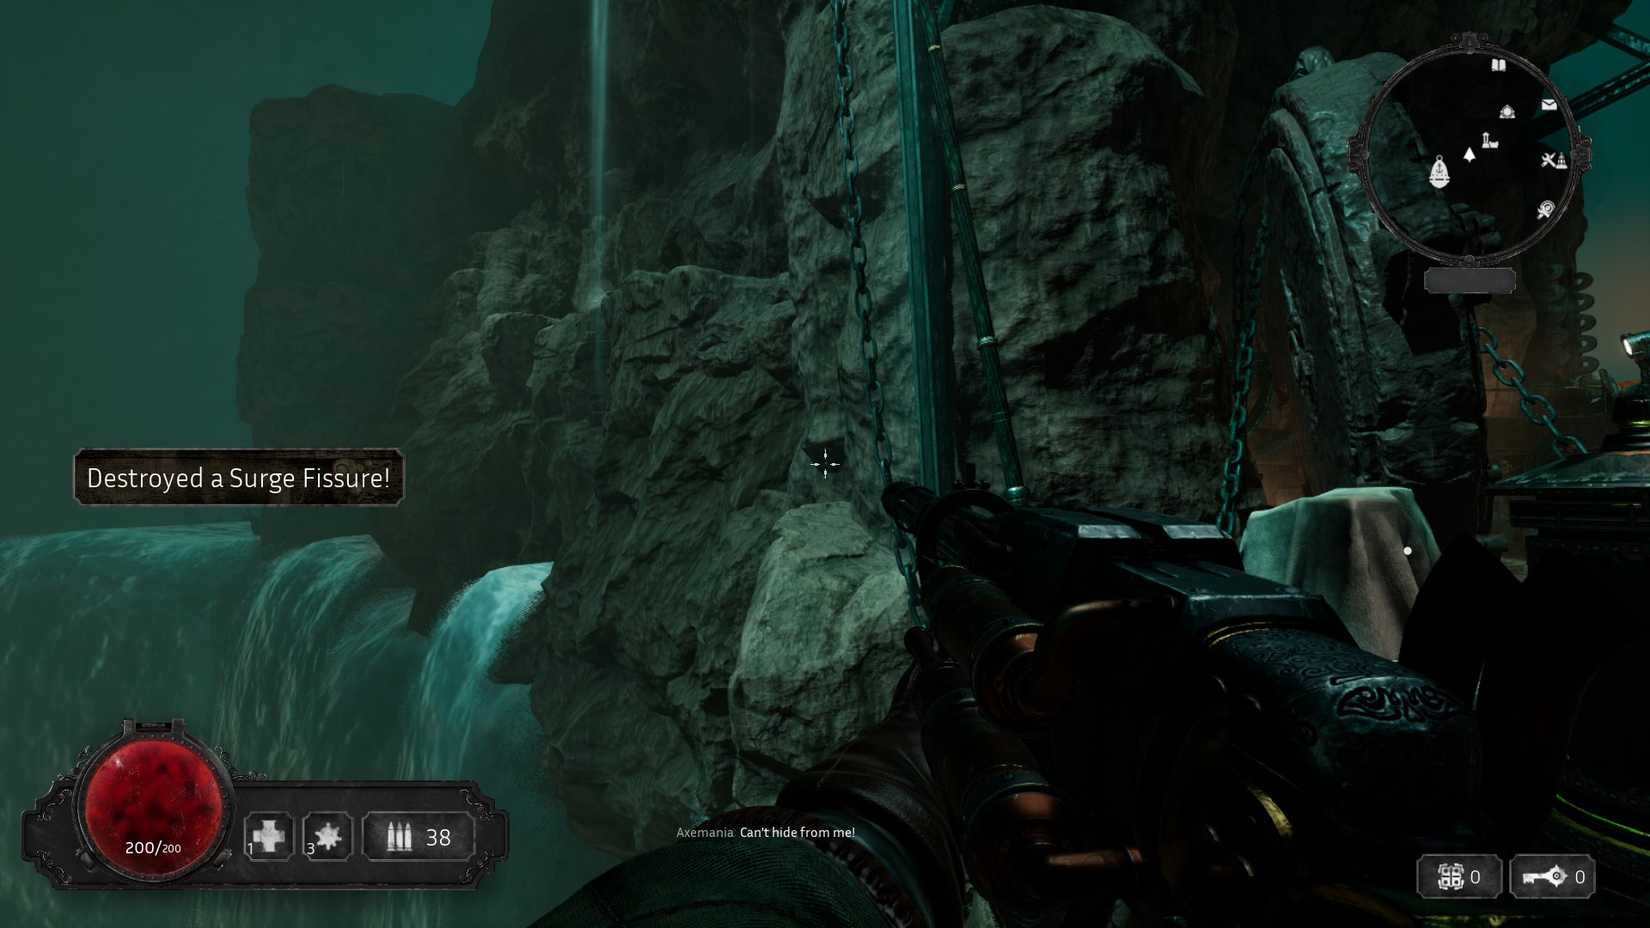
By finding and activating all eight fissures, you will complete the “Surge Fissures” challenge and unlock a special reward, typically a new cosmetic option or a color palette for your gear. This is one of the many secrets that make Abyssus such a rewarding game to explore. With this guide, you should be able to find all of the hidden fissures and get back to mastering the deep, one dive at a time.